
I recently had the chance to visit South Korea for the first time by myself and I thought I would do terrible in understanding a foreign country’s subway system but I managed to do just fine! Compared to Vancouver’s transit map, South Korea’s transit map is a lot more complex than the millennium and production-way line Vancouverites are used to seeing.
Looking at the overall map of the Seoul subway or metro is honestly very daunting because the text is so small and it’s hard to figure out where you start and where you get off. But a handy-dandy friend is Naver Maps, without that app I do not think I would have been able to navigate around South Korea as easily without it. An absolute clutch of an app that I recommend every traveler to install the app upon arrival. The app will easily tell you what exit number to enter the station at, what line to take, and what exit you should take to reach your destination.
South Korea’s subway lines are mainly underground and you would think maybe it would a few levels down like how it is for Granville or Burrard station but no. The platforms can go all the way down to B7 – basement level 7! So be prepared for a lot of walking, many escalators, and account extra time for travelling.
The time-lapse video above shows what it would be like to enter an exit into the station and how the signs above indicate major stations on Line 3 for users to generally know which side of the Line they are heading towards. For example, in that video I was heading towards Ogeum Station and as shown in the signs overhead, I was heading in the right direction. Once you reach the level where the subways flow in and out, the signs will be split into two to show the directions of the cities/stations. To go to Ogeum, I would need to turn left at the end of the video, and if I wanted to go opposite of Ogeum I would turn right and wait for that subway to arrive.
Subway Lines 1 to 4
Seoul has nine main subway lines that are indicated by Lines 1 to 4 and colours to help differentiate the paths. The main Lines I used was 1 to 4 and each Line was easy to grasp after travelling to certain spots several times. A big tip is to know which exit number you’re heading out of because that can be very beneficial of saving time exiting the station.

Line 1 is travels from Seoul Station and is a major transport track to Line 2. On this dark blue line you can visit Noryangjin Market and visit Dongdaemun.
Line 2 is dark green coloured and travels around downtown Seoul visiting City Hall, Hongdae (Hongik University), Ewha Womans University, Lotte World, and Gangnam. This line is pretty easy to switch to as you can change to other subway lines quite easily. It is also the Line where people will mostly do their shopping, clubbing, and exploring.
Line 3 (tan) cuts diagonally across Seoul’s downtown area and is the only line that takes you to Gyeongbokgung Palace.
Line 4 is light blue and helps travelers easily go from Seoul Station to Myeong-dong in a span of one stop. Just like Line 2, this line has many stations where you can easily switch over to another subway line.
Seoul Transport Cards
Instead of a compass card they call it the T-money card, Cashbee card for use in Busan, and or Railplus Transport card. You can get T-money cards pretty easily at convenience stores and right outside customs at the airport. Please note that the cards are rechargeable smart cards that can be used for paying both the bus and subway fares and taxis that display the T-money or Cashbee logo! When recharging the cards, it can only be done with cash only so always carry cash around because the reload machines at every station and convenience stores will only take cash. When purchasing a T-money card for the first time, it is empty so you will need to charge money into the card for you to be able to use it.
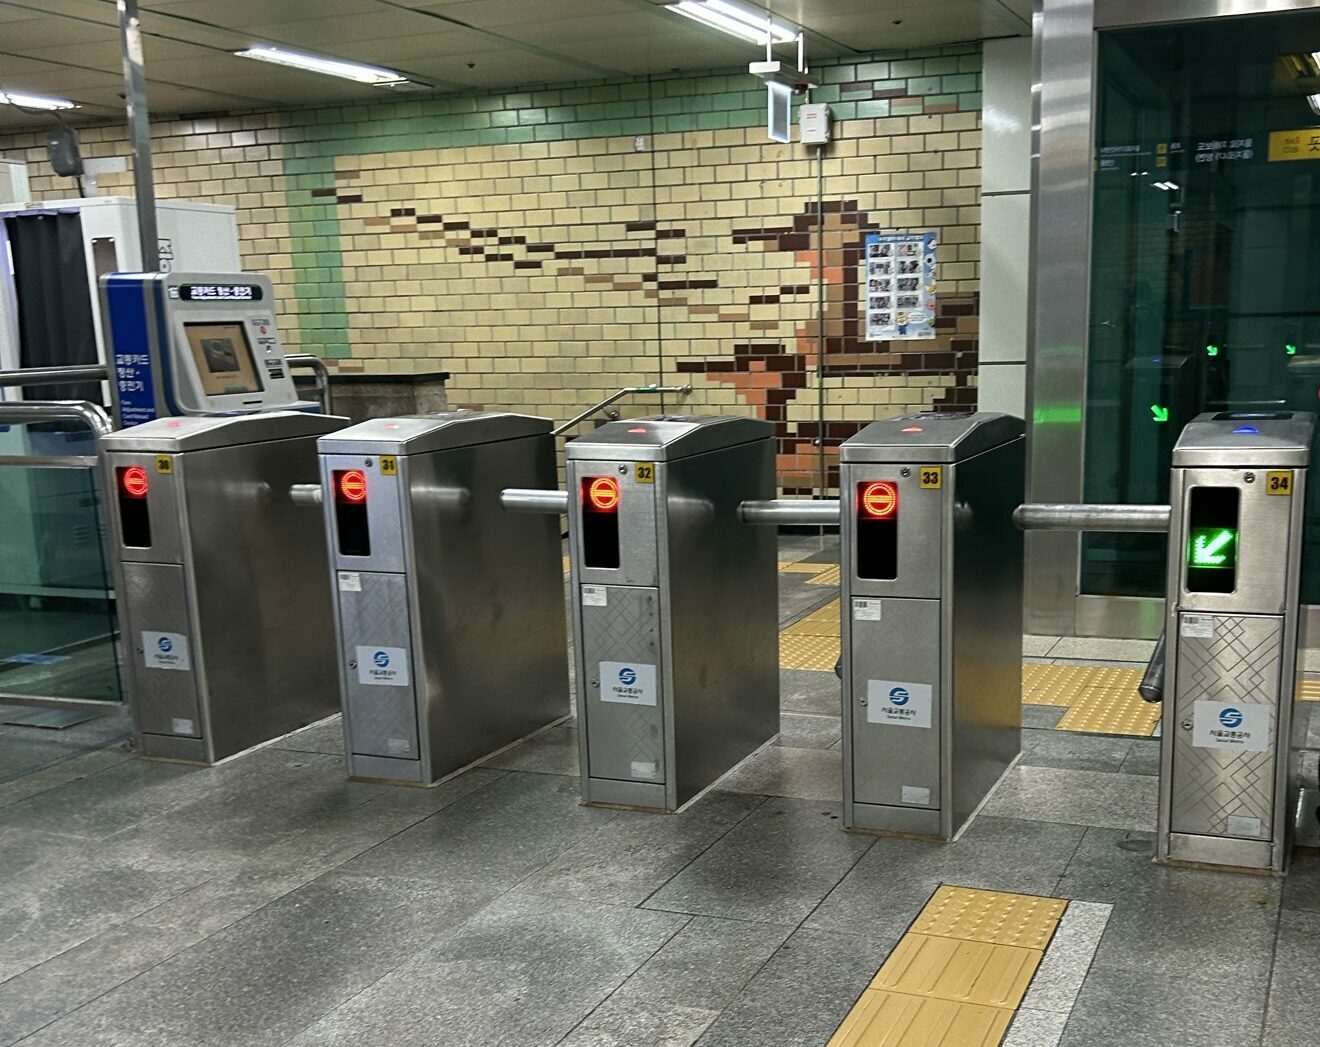
The transit cards are very easy to use, there are gates you tap into and gates to tap out of when leaving the station. What’s different from here in Vancouver is that you have to tap out when leaving the bus otherwise you’ll have to pay a lot more when you tap in somewhere else. You can also obtain a refund of your remaining credit on the T-money card at any convenience store and train stations. If you ever run into troubles of your card not letting you tap out, at every gated exit there will be one open gate mainly used for disabled bodies to enter/exit easily. There is a button that you can press for ‘help’ on that gate and from there you can talk to a subway station worker where they’ll usually let you through.